Get the flat back to handover condition.

0 / 0 done
◂ swipe between jobs ▸
Phase 1 · Strip it back
Job 01 · Wall · Do this first

Remove the stuck-on mirror tiles

Your flat
The IKEA mirror tile grid stuck to your wall
Photo — the mirror tiles you need to get off (foam-pad stuck)
▶ Watch
▶ Safely remove a glued mirror — House Doctor Ray
▶ Watch
▶ Remove a mirror glued to a wall — Ace Hardware
floss / fishing line saw down behind glass ← foam pads (cut through these)
Fig. 1 — Saw through the foam pads, don't pry the glass
What you have: IKEA-style mirror tiles held by double-sided foam adhesive pads. The enemy is prying — glass snaps and pads rip the paint off. The trick is to cut or soften the pads, not lever the glass.

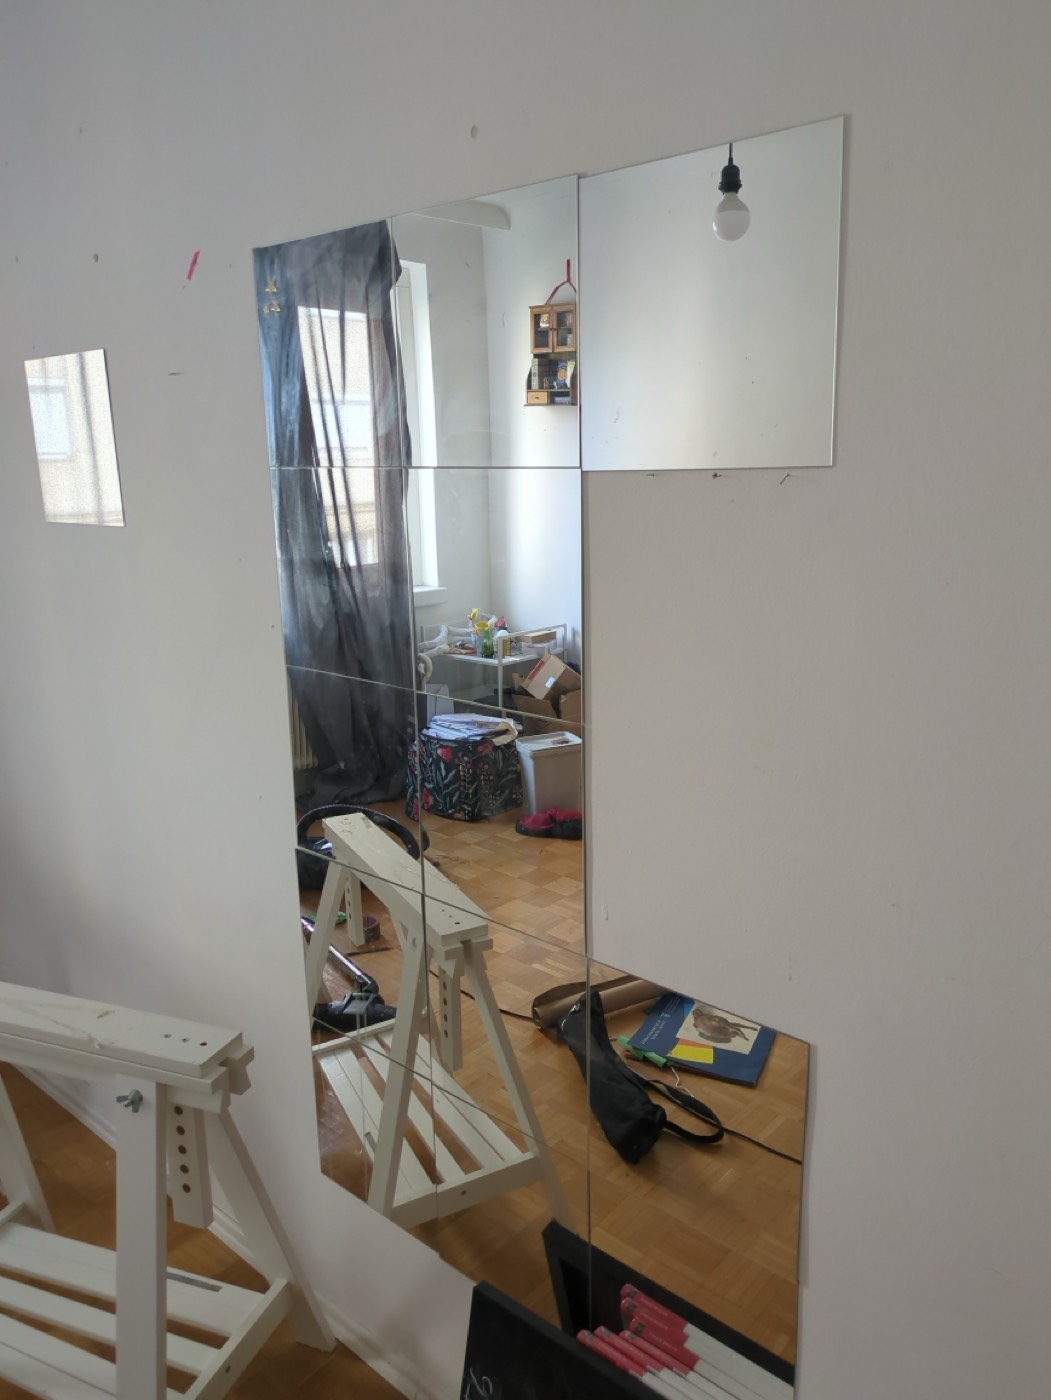
Floss / fishing line saw

Free · 10 min per tile · zero wall damage

Put on gloves + eye protection, tape an X of masking tape across each tile (holds shards if it cracks). Slide dental floss or fishing line behind the top edge and "saw" downward through each foam pad. Have a second person hold the tile.

↓ pads too stiff to cut?

Heat + floss

Hairdryer · softens adhesive in ~2 min

Warm the tile with a hairdryer on high for 1–2 minutes (keep it moving). Heat softens the foam adhesive, then repeat the floss saw. Works on almost everything. ▶ See the carousel videos up top.

↓ still won't budge?

Shims + patience (the pro method)

Wood shims ~€5 · slow but safe

Tap thin wooden shims (or a stack of plastic spatulas) behind the corners, a little at a time, working around the tile. Let the adhesive release slowly. Put a padded box/blanket below in case it drops.

Phase 1 · Strip it back
Job 02 · Wall

Foam pads & adhesive residue left on the wall

Your flat
Grey foam pad squares and sticky patches left on the wall
Photo — the little grey foam squares + sticky patches to remove
▶ Watch
▶ Remove tape & adhesive from painted walls — homesteady
✓ pull PARALLEL (stretch sideways) ✗ never pull STRAIGHT (takes paint with it)
Fig. — Peel sideways, flat to the wall. Straight pulls tear paint.
What you have: Grey foam squares and sticky patches (the little rectangles in your photo). Goal: get them off without tearing more paint — any paint that does lift gets fixed in Phase 2 (Job 04).

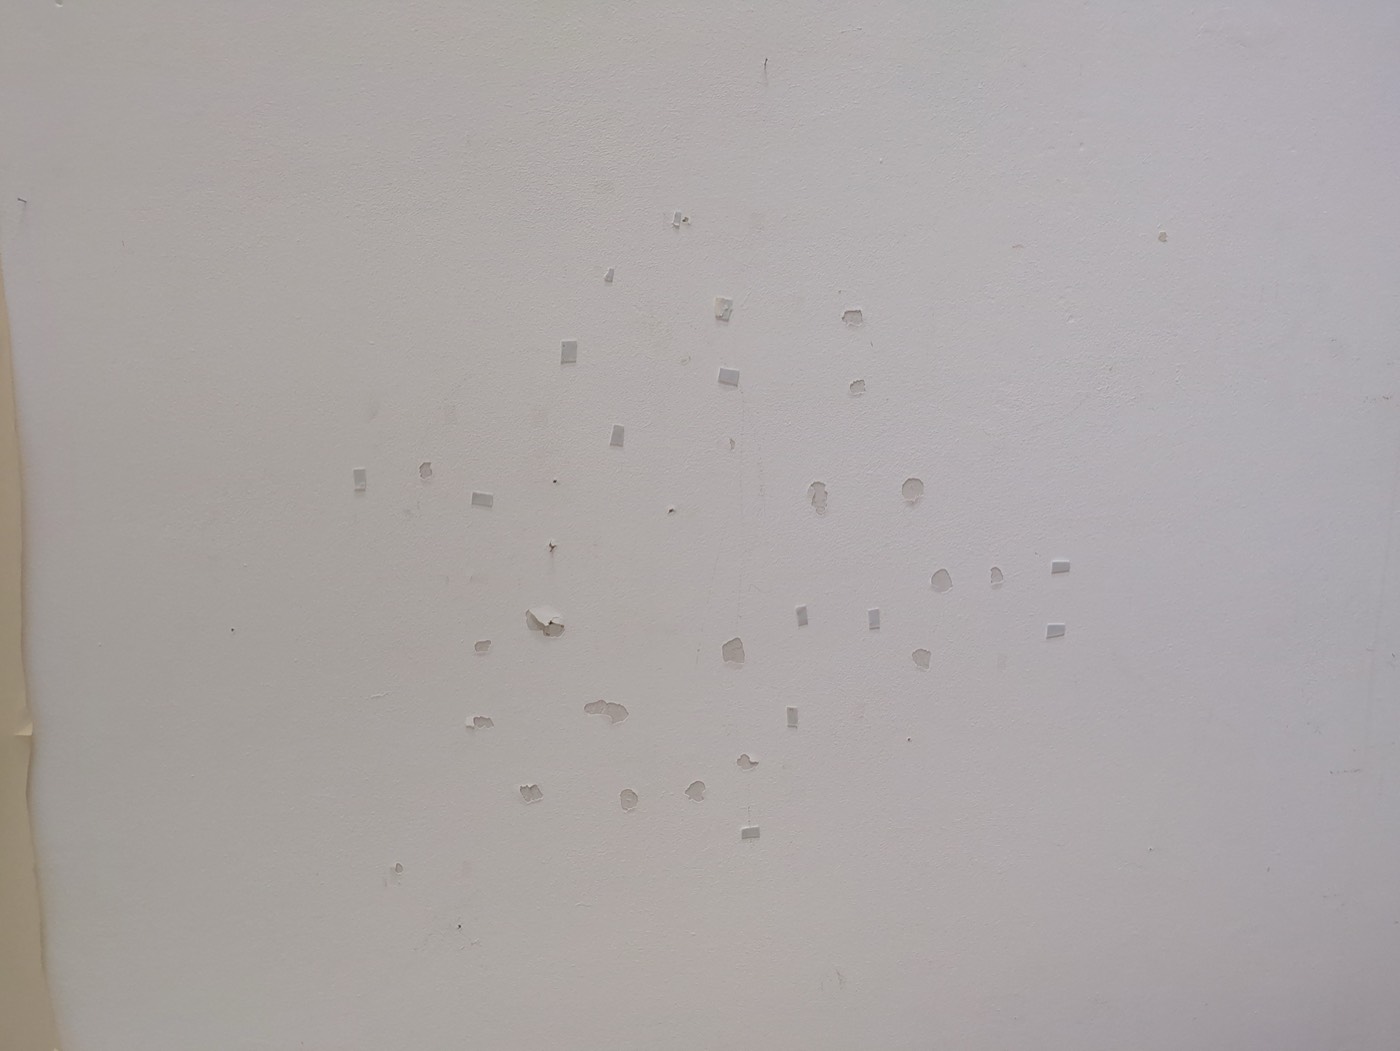
Roll it off with your thumb

Free

Rub the pad edge with your thumb so it rolls into a ball, or twist it off slowly. Pull remaining pads parallel to the wall (stretch sideways), never straight out — straight pulls take paint with them.

↓ pad won't roll?

Hairdryer + plastic card

Free · 30 sec per pad

Warm each pad 20–30 seconds with the hairdryer, then push it off with an old bank card or plastic scraper held almost flat against the wall.

↓ sticky film remains?

Oil or citrus adhesive remover

Cooking oil (free) or Goo Gone / Sticker-Ex ~€6

Dab a little cooking oil or citrus remover on a cloth, hold it on the residue for a minute, then rub off. Spot-test first — oils can leave a shadow on flat paint. Wash after with warm soapy water.

↓ left a shiny or stained patch?

Leave it for the paint phase

Handled in Phase 2 · Job 04

Scrape flat and stop — don't keep scrubbing or you'll enlarge the damage. Any bare or shiny patch gets filled, sanded and painted over in Phase 2.

Phase 1 · Strip it back
Job 03 · Wall

Scuffs, dirt shadows & yellow-ish stains

Your flat
Faint brownish smears and shadowy marks near the skirting
Photo — the faint brown shadows near the skirting board
▶ Watch
▶ Remove marks with a Magic Eraser — Mr. Clean
▶ Watch
▶ Magic Eraser on real wall scuff marks — TVDii
dry1 dry wipe soap2 soapy magic3 melamine prime4 stain-block gentle → stop the moment the mark lifts (over-rubbing shines the paint)
Fig. — Escalate gently. Stop as soon as the mark fades.
What you have: Faint brownish smears and shadowy marks on the painted wall near the skirting. Try cleaning before painting — but go gentle: on flat/matte paint, aggressive scrubbing burnishes a shiny patch that looks worse than the stain.

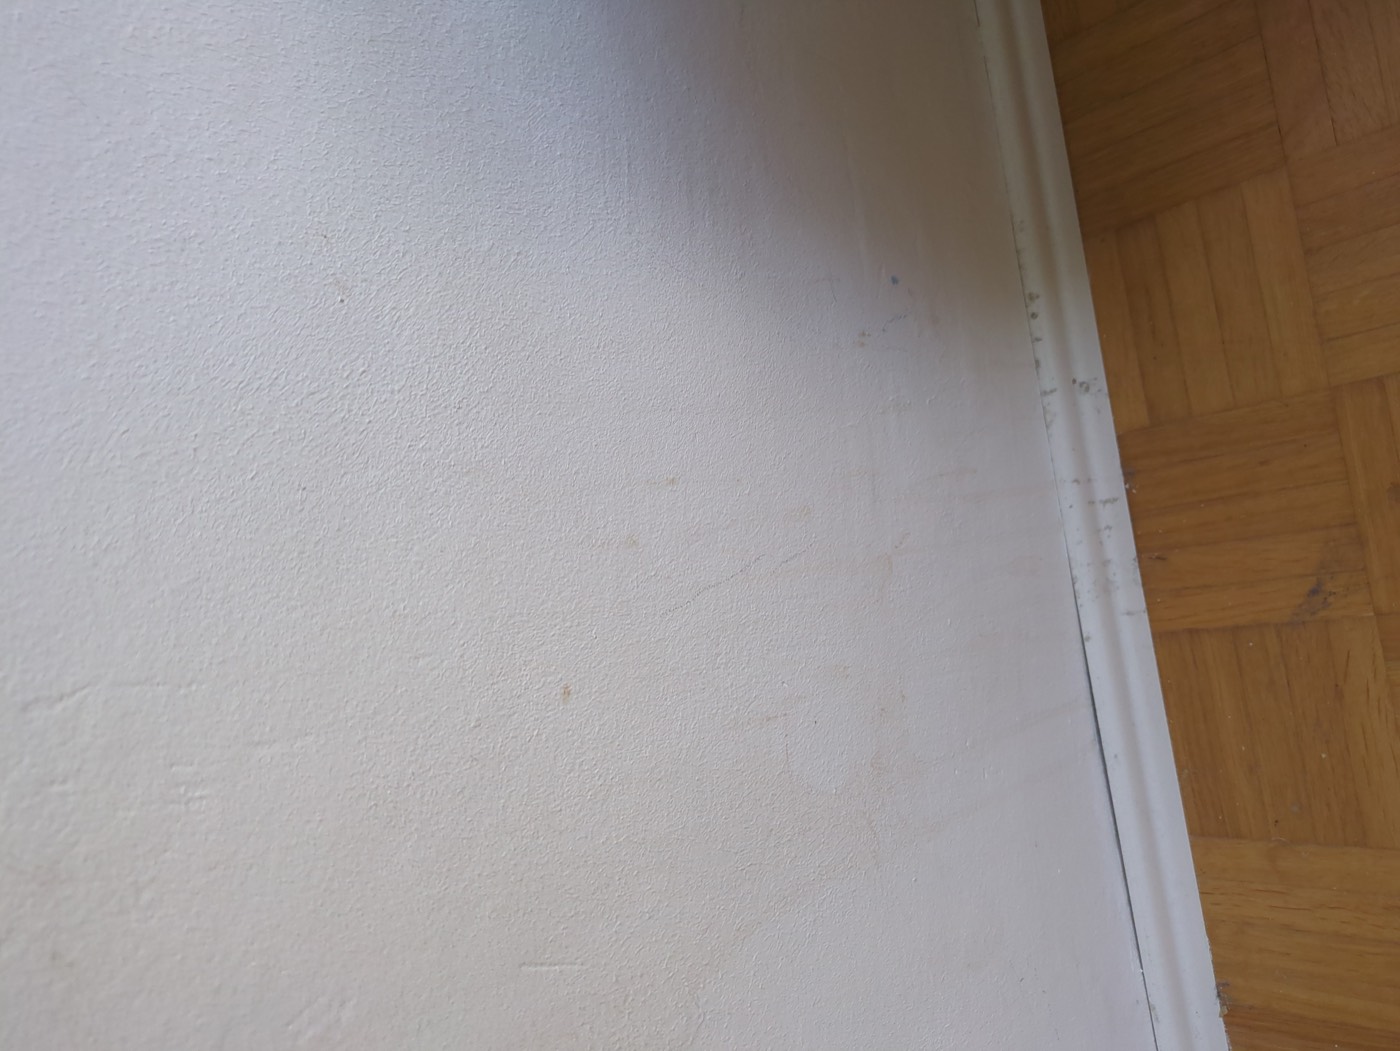
Dry wipe → soapy water

Free · always start here

Dry microfibre cloth first (removes loose dust that would smear). Then warm water + a drop of dish soap, wring the cloth well, blot and wipe gently. Rinse-wipe with clean water, pat dry.

↓ mark survives soap?

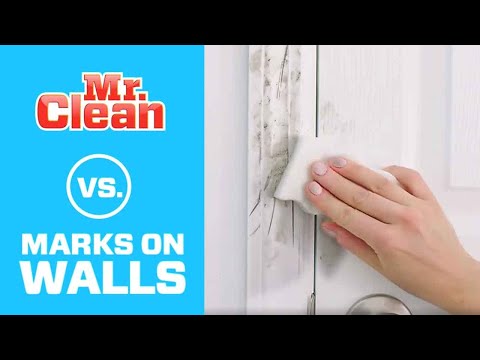
Melamine sponge (Magic Eraser), lightly

~€3 for a pack

Wet the sponge, squeeze out, and rub the mark gently — it's micro-sandpaper, so test a hidden spot first and stop the moment the mark fades. On matte paint, over-rubbing leaves a polished patch. ▶ See the carousel videos up top.

↓ grease/tannin stain still ghosting through?

Mark it for stain-block + paint

Handled in Phase 2 · Job 04

Yellow-brown stains bleed through normal paint forever. Don't fight it now — in Phase 2 you seal it with one coat of stain-blocking primer, then paint over. Just note where it is.

Phase 2 · Refinish (optional)
Job 04 · Wall · Only if chasing full deposit

Fill the chips & repaint the wall

Your flat
The constellation of small paint chips and flaked spots on your wall
Photo — the chips & flaked spots left after the pads came off
▶ Watch
▶ Fix peeling & flaking wall paint — Royal Rhino Interiors
▶ Watch
▶ Fix paint chips on your walls — Problem Solved
1 scrape 2 fill 3 sand 4 paint
Fig. 2 — Scrape · fill · sand · paint. Always in this order.
What you have: After Phase 1, the wall has a constellation of small chips and any stains you couldn't clean off. This is the classic 4-move repair: scrape → fill → sand → paint. New to painting? Swipe to the 🎨 How to paint card for the technique — then come back here.

Scrape loose edges

Putty knife ~€3

Push a putty knife or scraper under every flaking edge and pop off anything loose. It will look worse before it looks better — that's normal. Feather-sand the hard edges lightly.

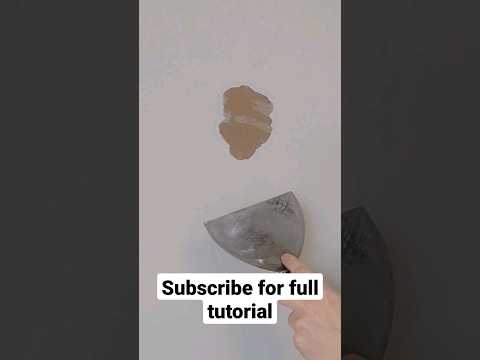
Fill with spackle / filler

Small tub of lightweight filler ~€5

Swipe filler over each chip with the knife, slightly overfilled. Let it dry fully (check the tub — usually 1–2 h for shallow spots). Use a non-shrink filler so you only need one pass.

Sand smooth & wipe

180–220 grit sanding block ~€3

Light circular passes until you can't feel the edge with your fingertips. Wipe dust off with a barely-damp cloth and let dry. Hit any yellow-brown stains with one coat of stain-block now.
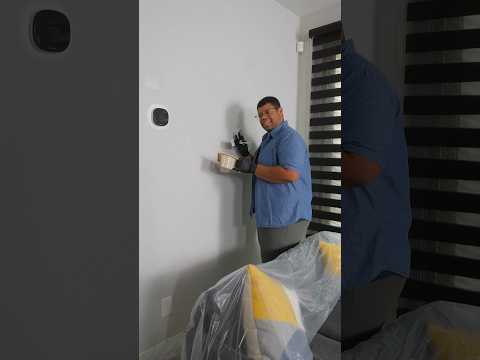
Prime, then paint

Small tin of primer + wall paint ~€15–25

Prime the patches (skipping primer causes "flashing" — shiny spots under raking light). Then roll paint corner to corner over the whole wall section, not just dabs — spot-dabbing in a slightly different white is the #1 giveaway. Two thin coats. ▶ Videos up top + full technique in the 🎨 How to paint card.

↓ patches keep showing through?

Repaint the full wall

~€25 paint + roller · half a day

If the old white has yellowed, no touch-up will match. One full wall, one fresh coat, guaranteed uniform. Often faster than fighting patch-matching.

Phase 2 · Refinish (optional)
Job 05 · Parquet floor

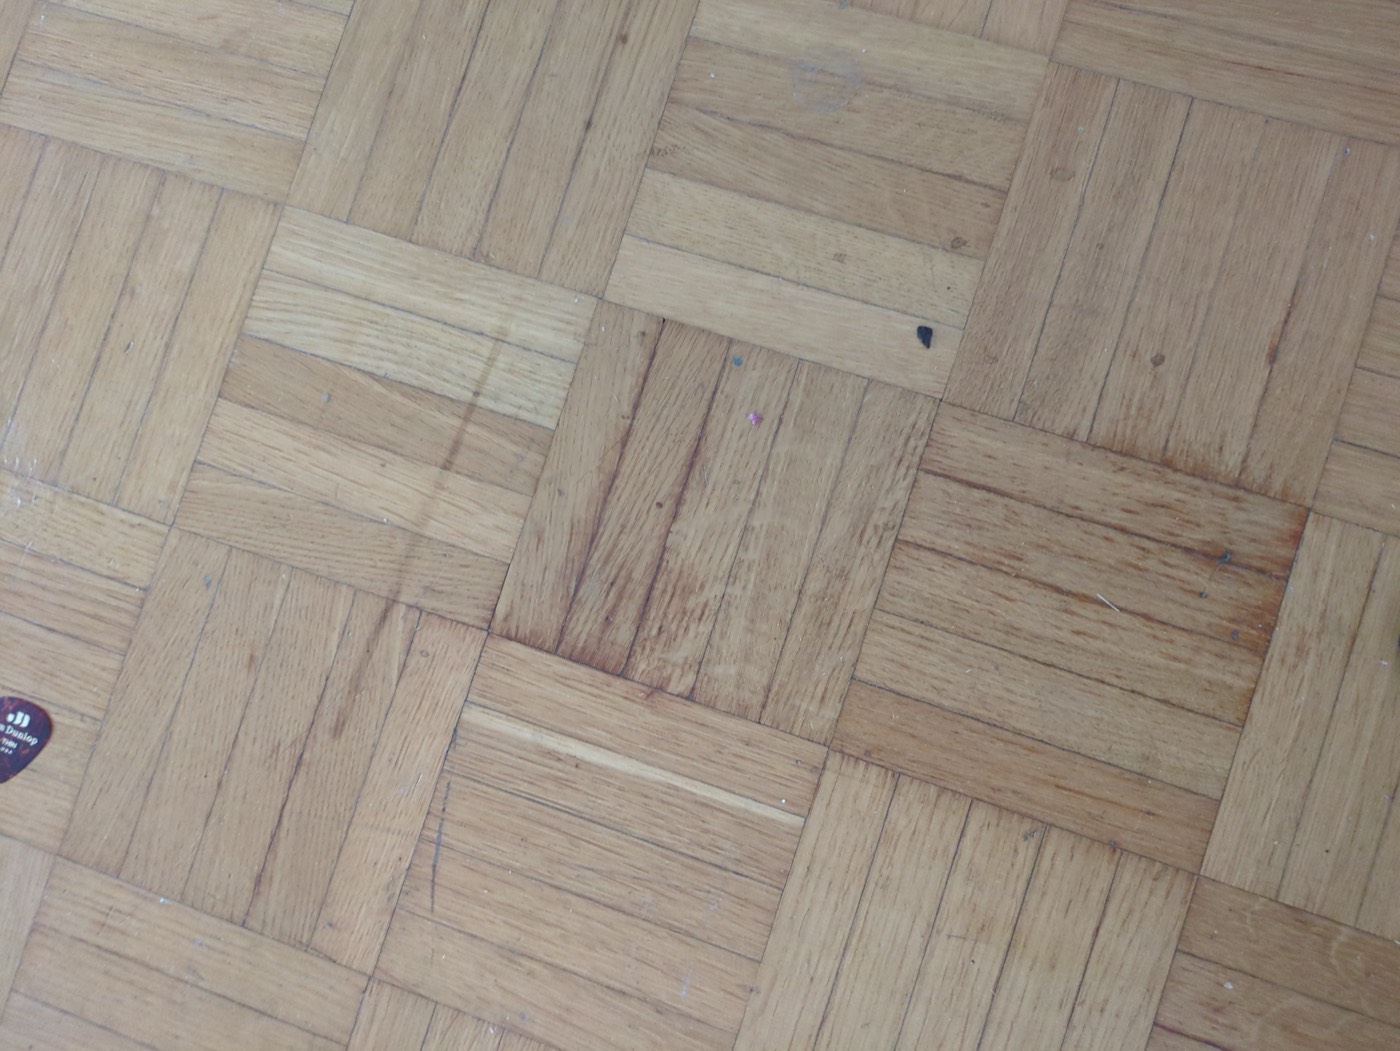
Scratches & dark marks in the parquet

Your flat
Parquet with scratches, dark marks and scuffed blocks near the skirting
Photo — scratches & dark scuff marks near the skirting
Parquet blocks with surface wear and lighter worn patches
Photo — general surface wear on the oak mosaic blocks
▶ Watch
▶ 3 DIY ways to fix a scratch in wood floors — MrFixItDIY
▶ Watch
▶ Repair dents & marks in a wood floor — DIY for Home and Life
nail glides → finish only nail catches → in the wood
Fig. 3 — The fingernail test decides which rung to start on
What you have: Oak mosaic parquet with surface scratches and some darker scuffed blocks. Rule of thumb: if your fingernail doesn't catch in the scratch, it's only in the finish → steps 1–2 fix it. If it catches, it's in the wood → step 3+.

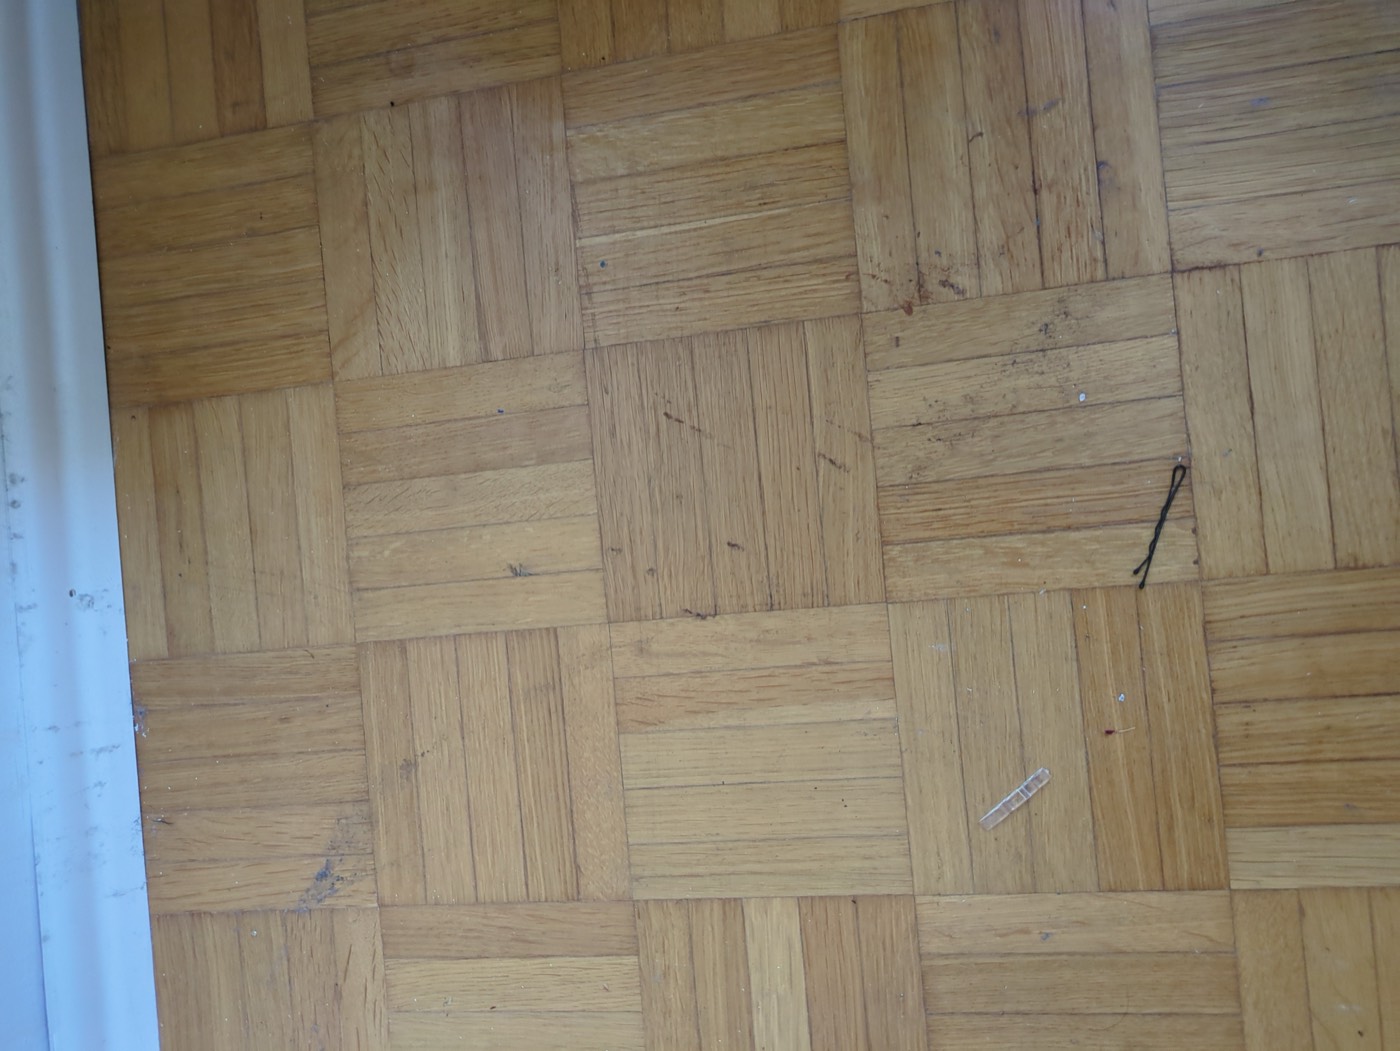
Clean + oil-vinegar blend

Pantry stuff · free

Clean the area, then dab a 50/50 mix of olive oil and (apple cider) vinegar into fine scratches, leave a few hours, buff off. Makes hairline scratches vanish surprisingly often.

↓ scratch still visible?

Touch-up marker / blend stick

Wood repair marker set ~€8–12

Colour the scratch with a wood-tone marker (buy a multi-shade set, blend two shades — parquet is never one colour), wipe excess across the grain, optionally seal with a whisper of clear paste wax on a cloth. ▶ See the carousel videos up top.

↓ fingernail catches (real gouge)?

Hard-wax filler stick

Hard-wax repair kit ~€12–18

Melt matching hard wax into the gouge (kits include a mini heater), scrape flush with the plastic scraper, blend the colour with a marker on top. This is what the pros use for single gouges.

↓ damage is widespread?

Spot-sand & refinish that patch — or leave it

Sandpaper + matching varnish ~€20 · risky

Sand just the damaged blocks (with the grain, 120→180 grit) and re-varnish. Warning: the new varnish sheen rarely matches aged finish exactly. For normal wear-and-tear in a rental, marks like yours often count as fair wear — check your lease before over-investing.

Phase 2 · Refinish (optional)
Job 06 · Parquet floor

Pale friction wear where the bed rubbed

Your flat
A pale streak in the parquet where the bed frame abraded the finish
Photo — pale streak where the bed frame wore the finish away
▶ Watch
▶ Care & re-oiling of an oiled parquet floor — HARO Flooring
▶ Watch
▶ Refresh oiled wood with maintenance oil — Osmo
bed leg drags finish rubbed thin → pale streak, bare-ish wood fix = clean → colour if pale → re-oil to match sheen
Fig. — Not a stain: the bed abraded the protective finish off
What you have: A pale streak where the bed frame rubbed and abraded the floor's finish — the protective oil/lacquer has been worn through by friction, so the wood underneath looks lighter and duller. It is not a stain, paint or moisture — no amount of scrubbing removes it. The fix is to re-colour if it looks bare, then re-oil / refresh the finish so the sheen blends back in. Test which finish you have first: a drop of water beads on lacquer, soaks in slowly on an oiled floor (Vienna Altbau parquet is very often oiled).

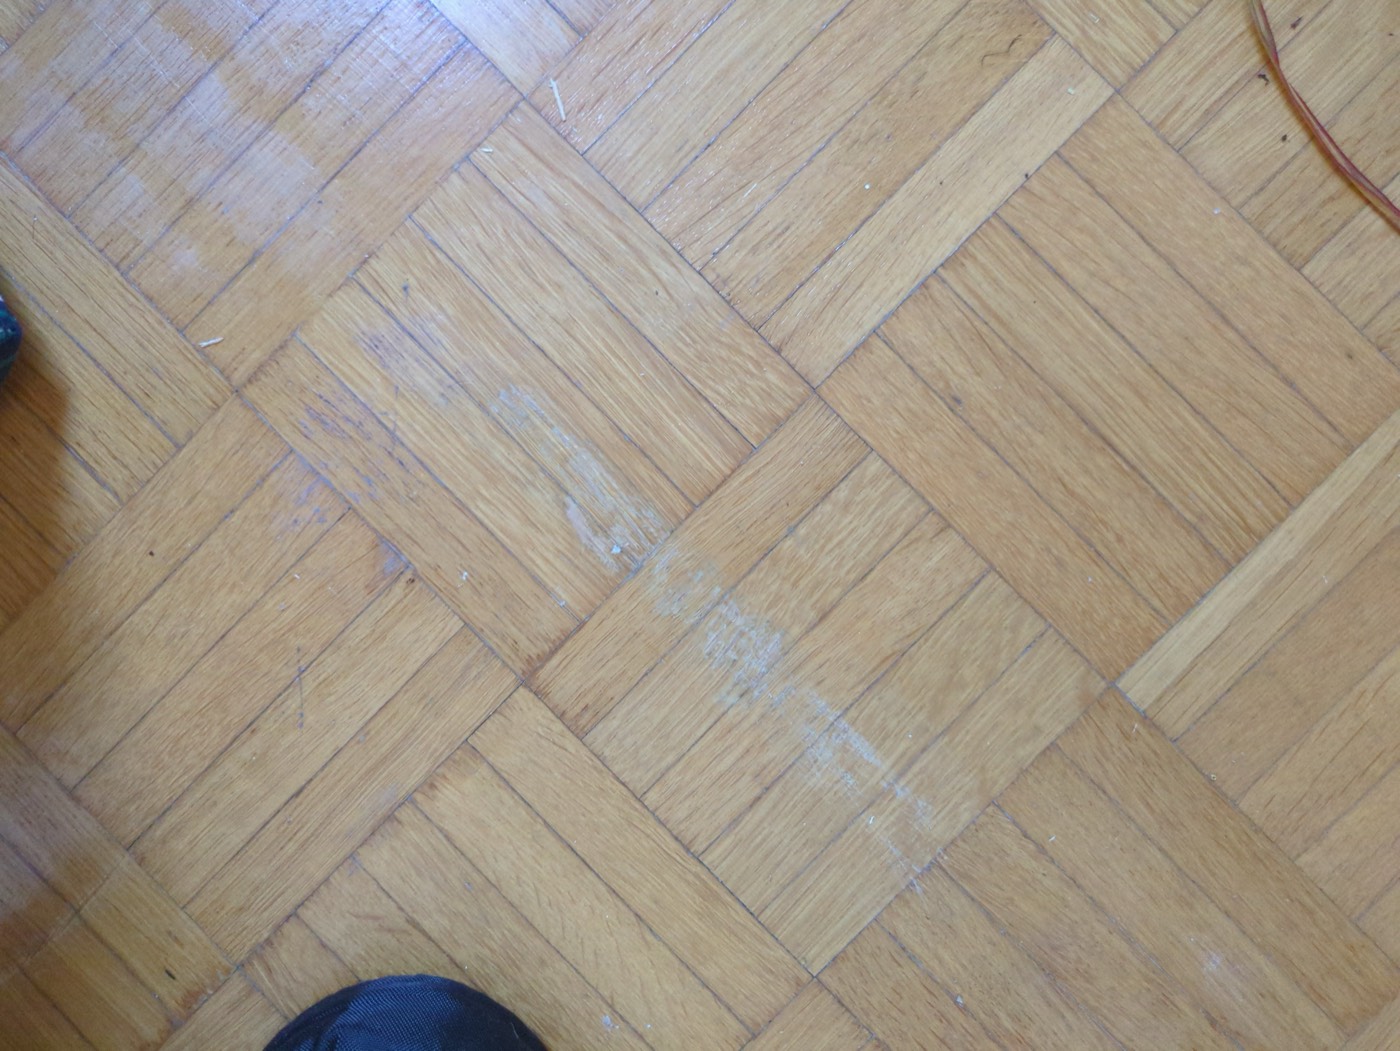
Clean the worn strip

Free

Vacuum then wipe with a barely-damp cloth to get grit and dust out of the abraded area. Let it dry fully — you want bare, clean wood before you re-oil, or the new finish won't key in.

↓ wood looks pale / lighter than around it?

Blend the colour back

Wood marker set ~€8–12 (you're buying it for Job 05 anyway)

Where the abrasion lightened the wood, feather a wood-tone marker along the streak with the grain, blending two shades. Wipe the excess. Light friction wear often needs no colour at all — just the oil in step 3.

↓ still dull / no sheen?

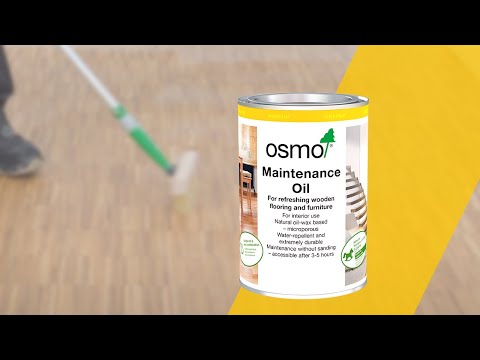
Re-oil (oiled floor) or reviver (lacquered)

Parquet maintenance oil or floor reviver ~€12–18

Oiled floor: rub a thin coat of clear/natural parquet maintenance oil (e.g. hard-wax-oil refresher) into the strip with a lint-free cloth, along the grain, feather the edges into the good floor, wipe off excess, let cure. Lacquered floor: use a matte/satin floor "reviver" polish instead — it re-flows a thin sheen over the scuff.

↓ wide, deep, or won't blend?

Spot-sand + re-oil — or call it fair wear

Sandpaper + oil ~€20 · or €0

Lightly sand the strip with the grain (120→180 grit), then re-oil as in step 3 so the whole block re-seals evenly. Honestly though: furniture-contact wear like this is the textbook example of "fair wear and tear" a landlord normally can't charge for. Check your lease before spending a cent — a quick re-oil is usually all it's worth.

Stop it happening again: stick felt pads under the bed legs before you move back in (or before the next tenancy) — that's the whole reason this streak exists.
Phase 2 · Refinish (optional)
🎨 Technique · read before Job 04

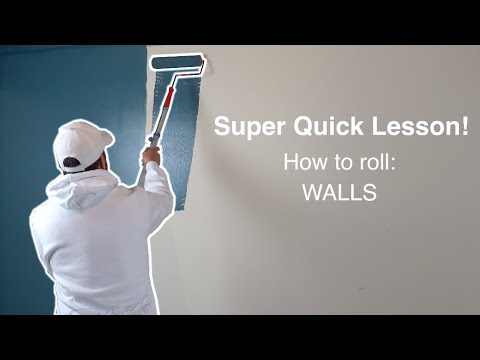
How to paint a wall so no one can tell

Watch first
▶ Watch
▶ How to paint a wall with a roller — Amana Painting
▶ Watch
▶ Quick lesson: rolling a wall evenly — Brolux Painting
The goal: a repaired patch that disappears. Painting is easy — the mistakes are all in the prep and in painting too small an area. Follow these six moves and a fresh patch reads as "the wall", not "a touch-up".

Prep & protect first

Masking tape + a sheet / newspaper

Fill, sand and dust before you open the paint (see Job 04). Run masking tape along the skirting and any edge you don't want paint on. Lay something on the floor. Stir the paint — never shake.

Prime the bare patches

Small tin of primer

Raw filler and bare plaster drink paint and dry shiny ("flashing") next to the old matte wall. One thin coat of primer on every filled spot fixes this. Let it dry per the tin.

Cut in the edges with a brush

Angled brush ~€4

Before rolling, brush a ~5 cm band into the corners and along the tape/skirting where a roller can't reach. Work in sections so the cut-in is still wet when you roll up to it (that's what hides the join).

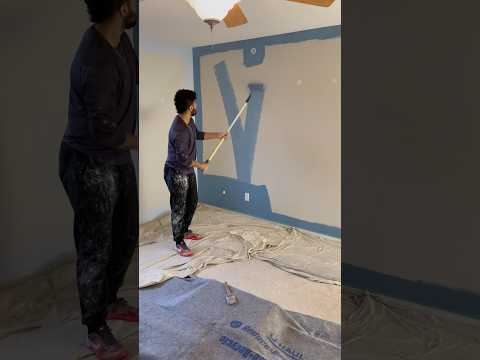
Roll in a "W", then fill it in

Mini roller set ~€8

Load the roller evenly (roll off the excess on the tray ramp). Roll a big loose W on the wall, then fill the gaps without lifting — this spreads paint evenly. Paint corner-to-corner across the whole wall section, never just a dab over the patch, or the patch will always show. ▶ Watch the two videos up top.

Two thin coats beat one thick

Patience

Thick paint runs, drips and dries blotchy. Do one thin coat, let it dry fully (check the tin — usually 2–4 h), then a second. Two thin coats give a flat, even, streak-free finish.

Keep a wet edge & don't overwork it

Always roll into an area that's still slightly wet, and stop fussing once it's covered — going back over half-dry paint leaves roller marks. Peel the masking tape off while the last coat is still tacky for a crisp line.

Same idea for the floor: re-oiling in Job 06 follows the same law — thin coat, feather the edges into the good area, wipe off excess, let it cure. Thin and blended always beats thick and patchy.

One trip to the hardware store

① Strip it back (the must-do)

  • Dental floss or fishing line (mirrors)
  • Masking tape (mirror safety X)
  • Work gloves + eye protection
  • Hairdryer (you own one — it does 3 jobs here)
  • Plastic scraper / old bank card
  • Melamine sponges + microfibre cloths
  • Cooking oil or citrus adhesive remover

② Refinish — walls (optional)

  • Putty knife
  • Non-shrink wall filler (small tub)
  • Sanding block, 180–220 grit
  • Stain-blocking primer (small can)
  • White wall paint + primer
  • Angled brush + mini roller set

② Refinish — floor (optional)

  • Wood repair marker set (oak shades)
  • Hard-wax floor repair kit (only if gouges)
  • Parquet maintenance oil or floor reviver (match your finish)
  • Felt pads for the bed legs (stop it recurring)